
What does a typical bathroom renovation involve?
A bathroom is the most technical room in most homes: waterproofing, plumbing, electrics, heating and ventilation all packed into the smallest space in the property. This is what the work actually involves, stage by stage, including the parts nobody sees afterwards.

Strip-out: back to the structure
A bathroom renovation starts by removing everything that is currently there.
- The old sanitaryware comes out — bath, shower, WC, basin and any vanity units.
- Tiles are removed, not tiled over. Tiling onto old tiles buries whatever is wrong behind them and adds thickness where you usually cannot afford it.
- Wall boards that are unsuitable or damaged are removed and replaced. In a wet area, a board that has taken water in the past is not a base you can build on.
Once it is stripped, we assess the exposed construction: what the walls are actually made of, how flat and sound they are, the state of the floor, and whether anything behind the old bathroom has been getting wet.
Strip-out is the only stage where the whole room is visible. Anything not dealt with here gets sealed in for the life of the bathroom.
Plumbing, preparation and waterproofing
Three stages that are completely invisible in the finished room, and which between them decide whether it lasts.
More on why we do it this way: why we recommend doing things properly.
Bath, shower and the decisions worth making early
Bath or shower — or both
The first decision is what the room is for. A single bathroom in a family home is a different brief from an en-suite or a second shower room, and the answer changes the layout, the plumbing and how much usable space you end up with.
Shower niches
A recessed niche puts everything you use in the shower inside the wall instead of on it. Niches come in different sizes and can be positioned to suit how the shower is used and where the wall build-up allows — a tall narrow recess, a wide shelf, or more than one. Because a niche is formed in the wall and waterproofed as part of it, the position has to be agreed before boarding, not after.
Tiled shower seating
Where there is room, a built-in tiled seat or bench can be formed as part of the shower and finished in the same material. It is optional, but it is another thing that has to be built in early — it is not something that can be added to a finished shower.
Where these choices land
Niches, seating, concealed plumbing and underfloor heating all get built during the invisible stages. Decide them at the planning stage and they cost very little extra; decide them after boarding and waterproofing and you are undoing finished work.
Fittings, heating and finishing
With the preparation done, the visible bathroom goes in: new sanitaryware, and taps and brassware chosen to match it. LED mirrors, where they are wanted, need a supply run at first fix — another reason the electrical layout is agreed early.
On the comfort side, underfloor heating suits most bathrooms and removes the need for a radiator taking up wall space, and a heated towel rail handles towels. Ventilation is not optional: a bathroom that cannot clear moisture will eventually show it, whatever it was finished in.
For finishes, tiling remains the standard choice. Microcement is an alternative where it is appropriate — it gives an almost continuous surface with very few joints, and it depends completely on the preparation and waterproofing beneath it. We used it in the Marylebone flat refurbishment. Either way, the room finishes with sealing, silicone, trims and the detailing that decides whether it looks finished or nearly finished.
What a complete bathroom renovation covers is set out on bathroom renovations, and the manufacturers and materials we work with are listed in our FAQs.
Bathrooms we have built
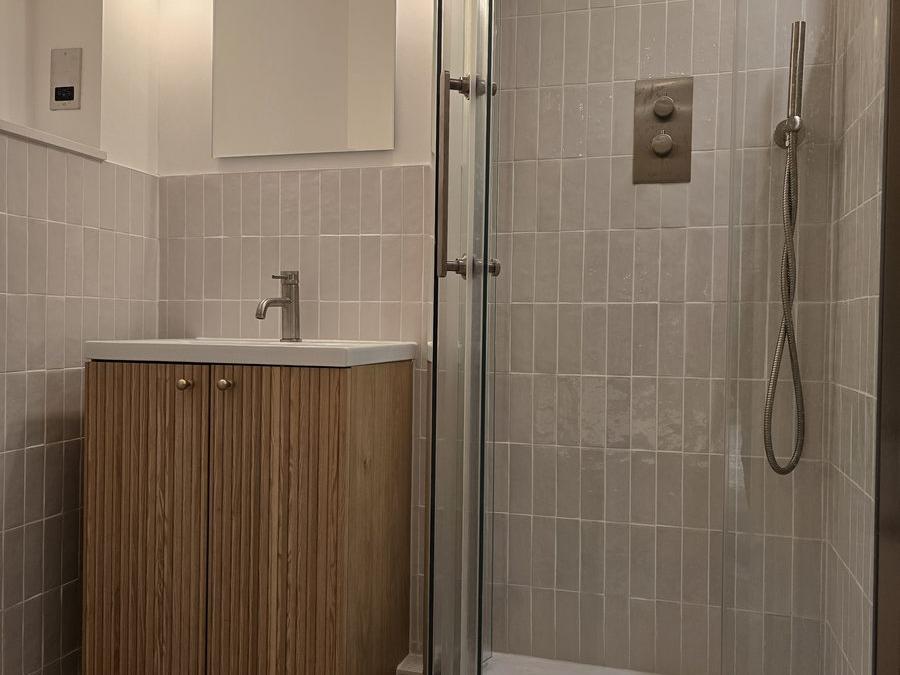
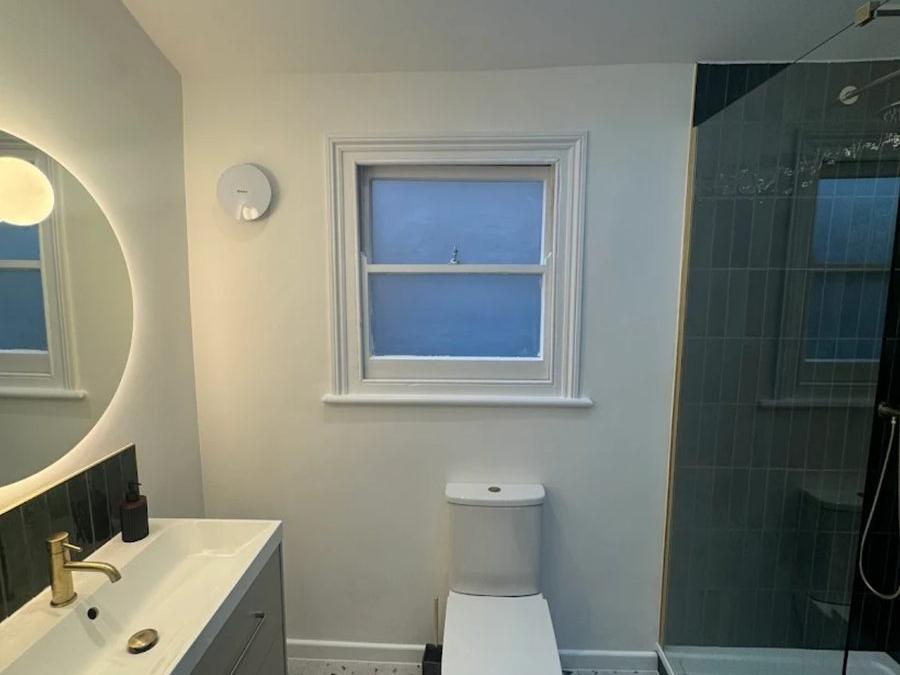
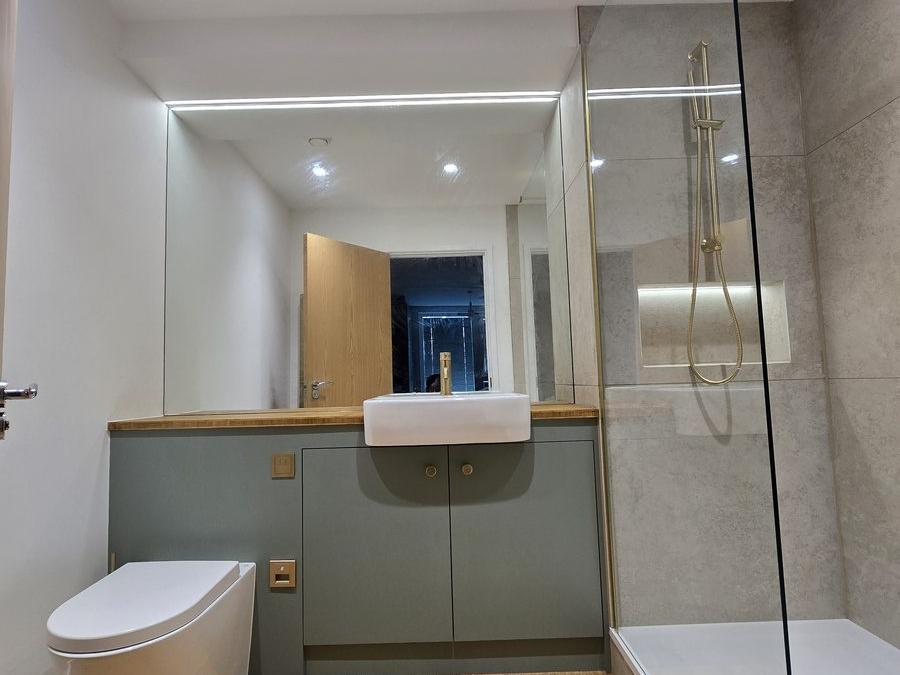
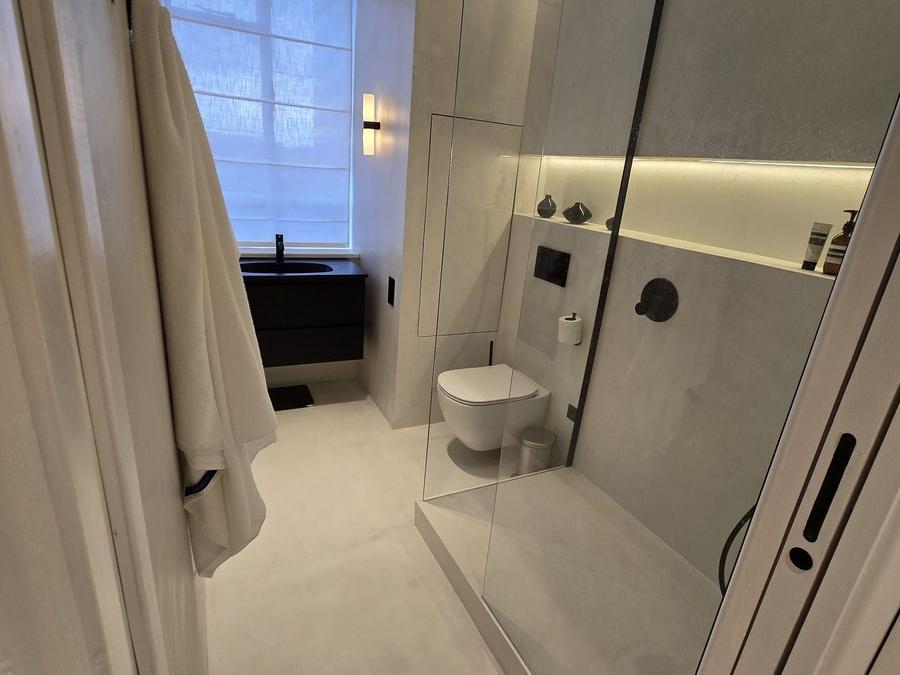
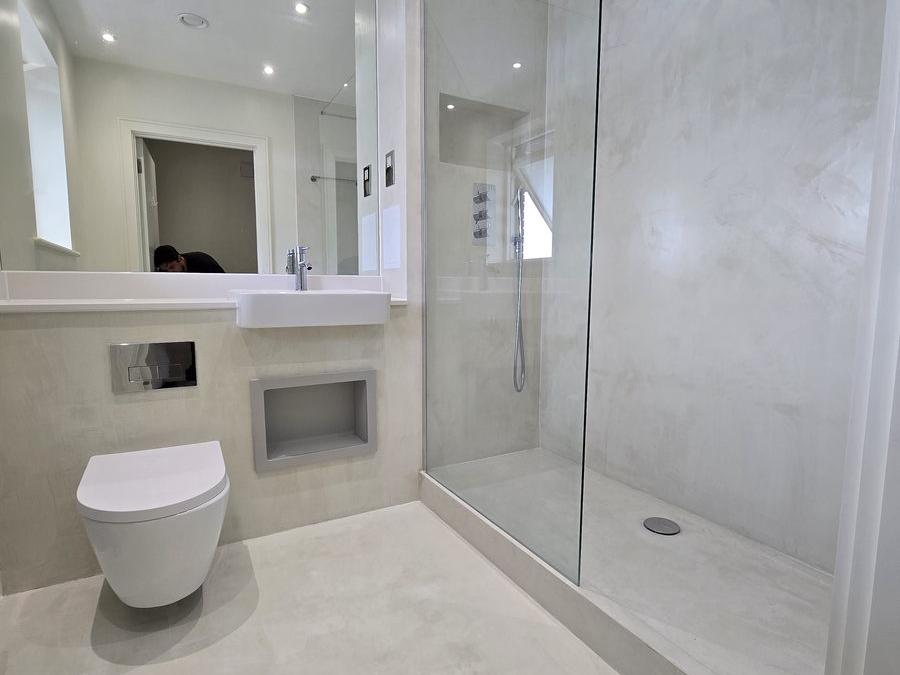
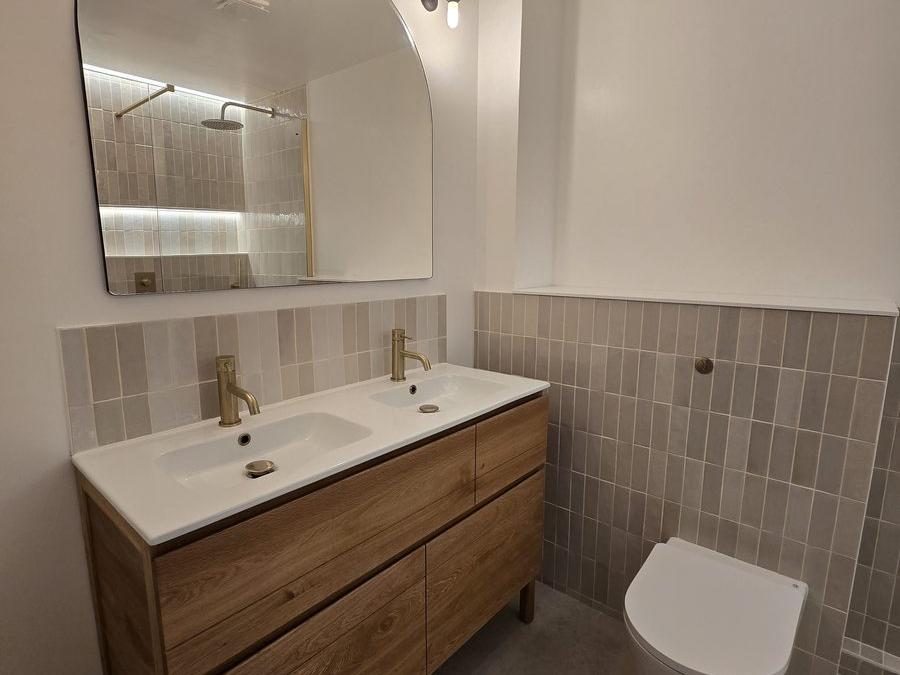
More on our projects page and on Instagram.
What could your bathroom cost?
The estimator gives an indicative ballpark by size and specification. A confirmed quotation follows a site visit.